
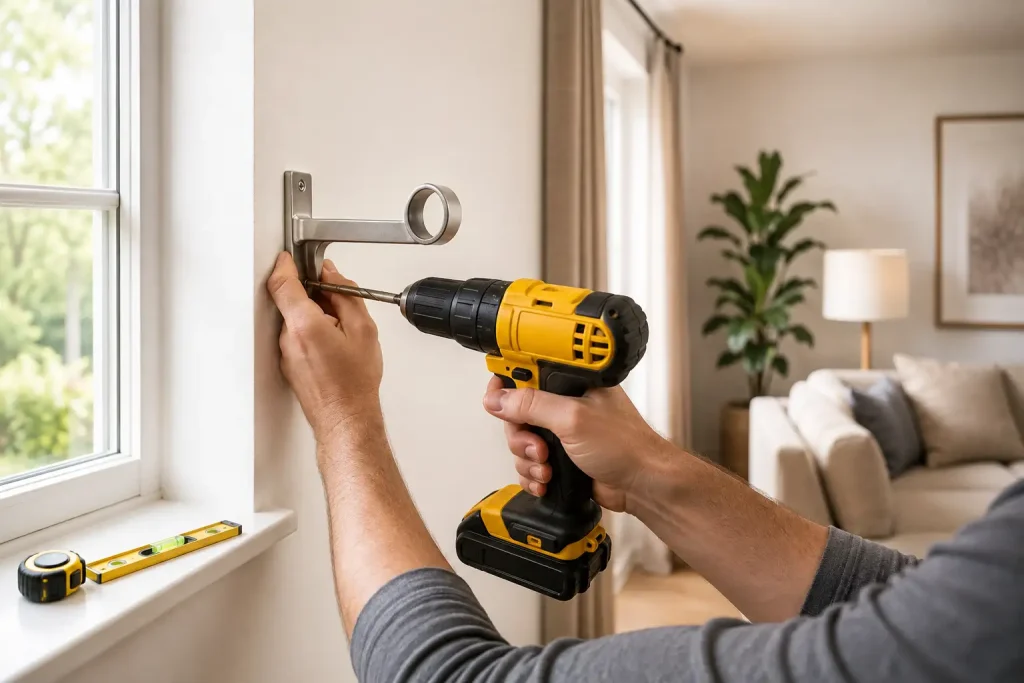
Ready to install a curtain rod yourself? Learning how to install curtain rods can feel confusing at first. Many homeowners think this small task needs a professional but it usually does not. A curtains rod installation can often be completed quickly with the right steps and tools.
This guide takes you through the whole process from checking measurements to fixing the rod in place. We will look at different rod styles and finishes too. You will learn about double rods, adjustable options, and special designs for difficult spaces. By the end you should feel more confident and ready to start. Let’s begin with the basics before moving into the hands-on installation work.
Understanding Your Curtain Rod Options First
Not every rod suits every window or wall. Some rods come fixed at one length while others extend to fit wider openings. Material choice also matters quite a bit. Weight capacity changes depending on your curtain fabric thickness. Heavy blackout curtains need sturdier rods and stronger fixings than lightweight sheer panels ever will. Different curtain designs carry different weights and fabric thicknesses, so it helps to know what you’re working with before choosing the right rod.
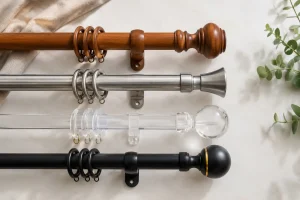
Popular Curtain Rod Materials:
- Wood rods bring warmth and a traditional feel to any room.
- Metal rods suit modern and minimalist interiors.
- Acrylic rods work well in bright airy spaces.
- Coated steel rods resist rust in damp or humid areas.
Curtain Rod Types at a Glance
The table below summarizes the main rod styles covered in this guide and highlights their ideal applications and key features.
| Rod Type | Best For | Key Feature |
| Single Rod | Standard windows of any size | Simple one layer mounting |
| Double Curtain Rod | Layering sheer and blackout panels | Two rods on shared brackets |
| Adjustable Curtain Rod | Windows of varying widths | Telescopes to fit snugly |
| Extendable Curtain Rod | Rentals and temporary setups | Flexible sizing without cutting |
| Ceiling Curtain Rod | Room dividers and tall windows | Mounts into ceiling joists |
| Bathtub Curtain Rod | Showers and tub enclosures | Curved shape for extra room |
Tools and Materials You Will Need First
Gather every tool before starting any drilling work. Having everything ready prevents frustrating last minute trips to the store. A short checklist beforehand keeps the whole project moving quickly and smoothly.
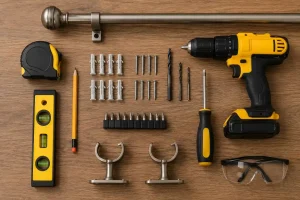
Tools Checklist:
- Tape measure.
- Pencil.
- Spirit level.
- Drill with correct bits.
- Wall anchors suited to your wall type.
- Screwdriver.
- Safety glasses.
How to Install Curtain Rod Step by Step
Start by deciding how high the rod should sit. Most designers suggest mounting it well above the window frame for a taller look. The steps below walk through the full process from marking to final placement.
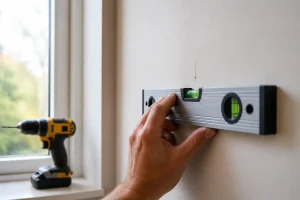
Installation Steps:
- Mark the chosen height lightly with a pencil.
- Use a spirit level so both marks stay even.
- Measure an equal distance out from each side.
- Drill pilot holes carefully at each marked position.
- Insert wall anchors if working with drywall.
- Screw the brackets firmly into place.
- Slide curtain rings or hooks onto the rod.
- Rest the assembled rod onto the mounted brackets.
- Check that everything sits level before hanging curtains.
Choosing the Right Curtain Rod Holders
Curtain rod holders come in several different designs and finishes. Some sit flush against the wall while others extend outward so curtains open fully. Always match holder weight capacity to your curtain fabric type.
Types:
- Flush holders sit close against the wall surface.
- Extended holders let curtains open fully to the side.
- Decorative holders add a polished look.
- Reinforced holders suit heavier blackout or layered curtains.
Installing a Double Curtain Rod for Layered Looks
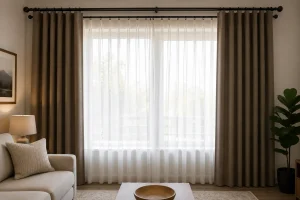
This curtain rod lets you hang two layers of curtains at the same time. The sheer panels usually stay near the window, while blackout curtains sit in front of them. This setup gives you more control over light and privacy. Installing this type of rod is simple for most homes. The brackets are made wider so both rods can stay secure and hang evenly. Many homeowners prefer this option for bedrooms and living areas because it looks practical and stylish.
Special Cases: Bathtub and Ceiling Curtain Rod Options
A bathtub curtain rod often curves outward for extra room. This curved shape keeps splashing water contained more effectively inside the tub. A ceiling curtain rod mounts quite differently and attaches directly into ceiling joists or reinforced blocking. Always confirm the mounting surface can support the rod’s full weight before drilling anything.
Adjustable and Extendable Curtain Rod Solutions
An adjustable curtain rod suits windows of varying widths well. These rods telescope inward or outward so installation stays quick and largely stress free. This curtain rod works in a similar way and reduces the need for precise measuring before you even reach the store.
Why Choose Adjustable or Extendable Rods:
- No cutting or trimming required to fit the window.
- Easy to reuse after moving to a new home.
- Well suited to rentals and temporary setups.
- Budget friendly compared with fully custom rod orders.
Curtain Rod Sets and Curtain Hooks for a Finished Look
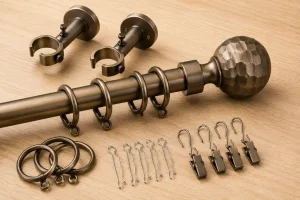
A complete curtain rod set includes brackets, rings and finials together. Buying a full set often costs less than buying every piece separately. Check that the included curtain hooks match your curtain’s header style before hanging anything.
Common Curtain Hook Types:
- Clip hooks attach easily without any sewing.
- Pin hooks insert directly into pleated fabric pockets.
- Pinch pleat hooks suit tailored formal headers.
- Ring hooks slide smoothly along most rod styles.
Common Mistakes to Avoid During Installation
A few small errors account for most installation problems. Watch out for the mistakes below before you pick up the drill.
Mistakes to Watch For:
- Mounting rods too close to the window frame.
- Skipping the spirit level and ending up with a crooked rod.
- Using the wrong wall anchors for a hollow or solid wall.
- Rushing measurements instead of checking twice before drilling.
- Ignoring the weight limit of a rod or its holders.
Conclusion
Installing a curtain rod is a manageable weekend project overall. With the right tools most homeowners finish comfortably within an hour or two. Patience matters far more than raw skill. Careful planning around height and spacing prevents most of the common problems people run into.
Some homeowners still prefer browsing options first. Our Wave Curtains show rods, holders, and hooks together in real room settings. Seeing these pieces styled together really helps. It makes final decisions easier before committing to any single option at all.
For extra guidance simply browse a bit further. The Curtains and Blinds offer many practical starting points for almost any room. It remains a simple way to compare styles. We provide quality solutions that enhance your home’s beauty and comfort daily. A finished window instantly changes how a whole room feels and looks every day.